Showing posts with label hack. Show all posts

Wednesday, July 6, 2016

Gear Hack: A new lid for my Duo Coffee Steeper

Back in January of 2014, I backed a kickstarter for a coffee brewer called the Duo Coffee steeper, and I love the darned thing with a passion. It's my favorite coffee brewing method of all time, and I've used it nearly every day since July of 2015 when I received it.
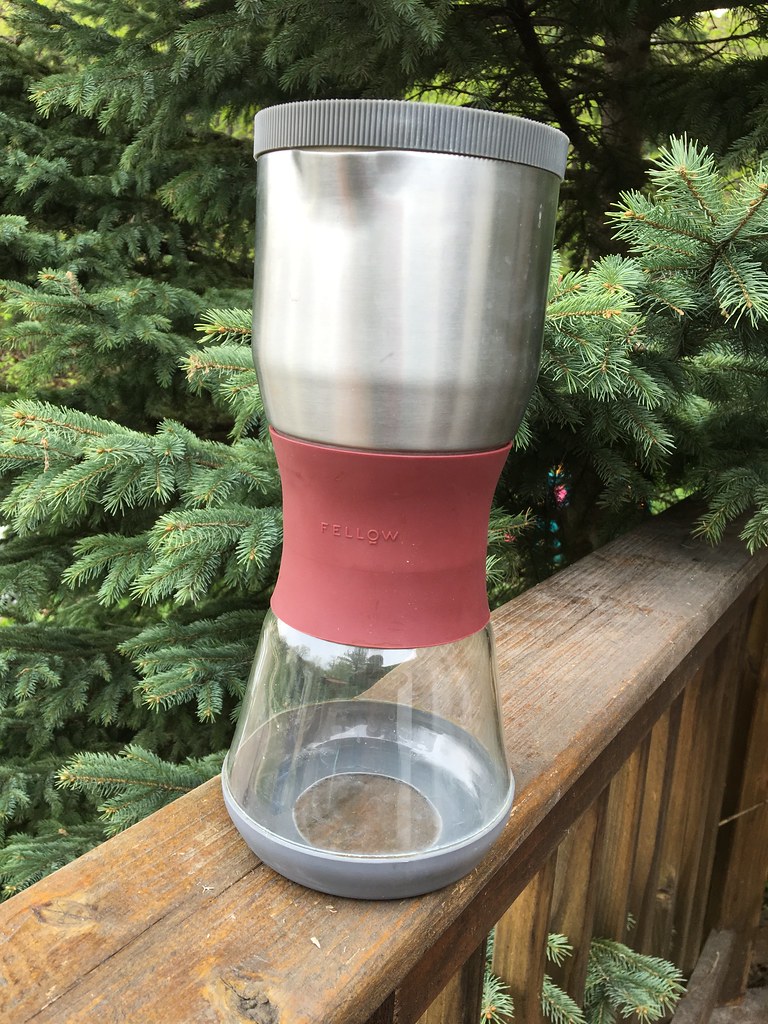

The one (and only) thing I'm less than enthused about is the lid. It works fine. It's functional, looks good ... but it's made of plastic, something I avoid using with hot liquids. For coffee brewing, I really just want stainless steel, glass, ceramic, and if necessary, silicone. You know, ingredients that have stood the test of time, and are safe. Inert.  
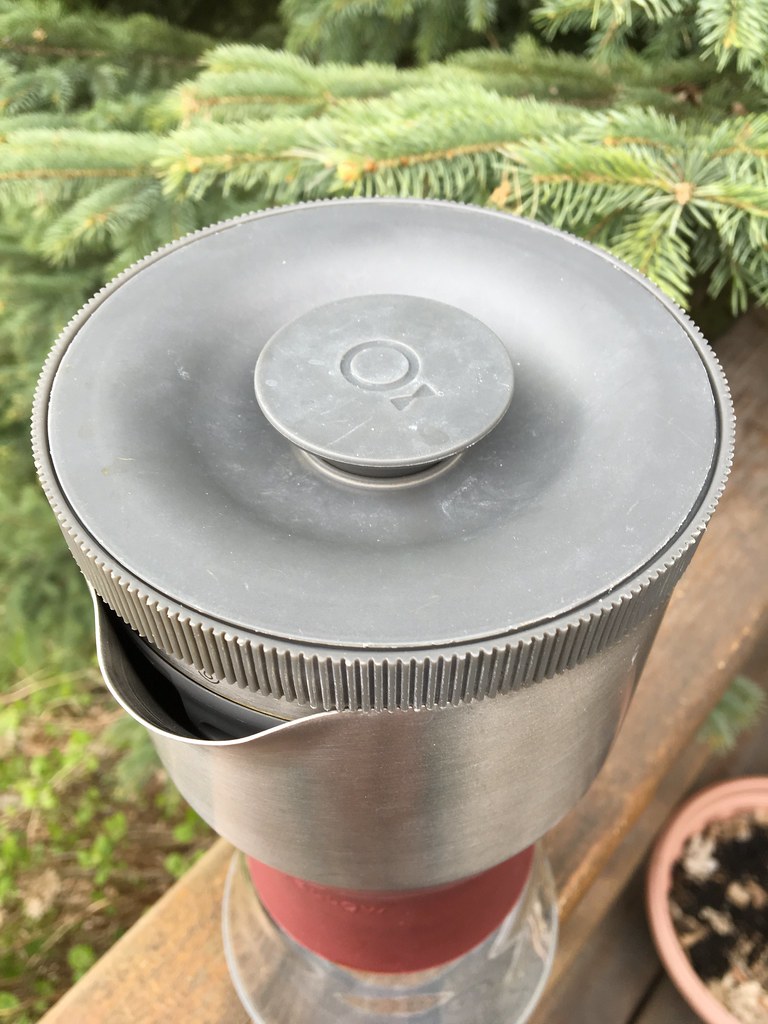
The problem with plastic, is that every few years, we hear about yet another nasty chemical being released into our foods. Besides, I think things often taste funny in plastic.  The lid of the Duo is the only piece of plastic that touches coffee in the whole thing.  If you make the full amount of 24 ounces, coffee touches the underside of the lid.  And regardless of the amount, condensation collects on it, and drips back down.  Now, the lid is made of one of the better plastics, food-safe, BPA-, and phthalate-free, and all that.  But, it's still plastic.


I started playing with ideas almost immediately - lining the lid with a sheet of stainless-steel foil, but I never did figure out how to adhere it. Besides, I don't really want glues near my food, either.

This weekend, I was planning to take my inner brew chamber/lid to the nearest Goodwill or even Bed Bath and Beyond to see if I could find a lid small enough to fit, even if it was intended for a different use  Then I started looking around at home to see what small lids I already had. The lid of the asparagus steamer? Nope. Too big.  Then it hit me - the red silicone-and-glass lids of our Pyrex storage bowls (smallest, two-cup size) might be about right, and I have an extra one (after I broke a bowl).  Bingo!!


And because of the silicone seals, it actually stays on just as well as the original lid.
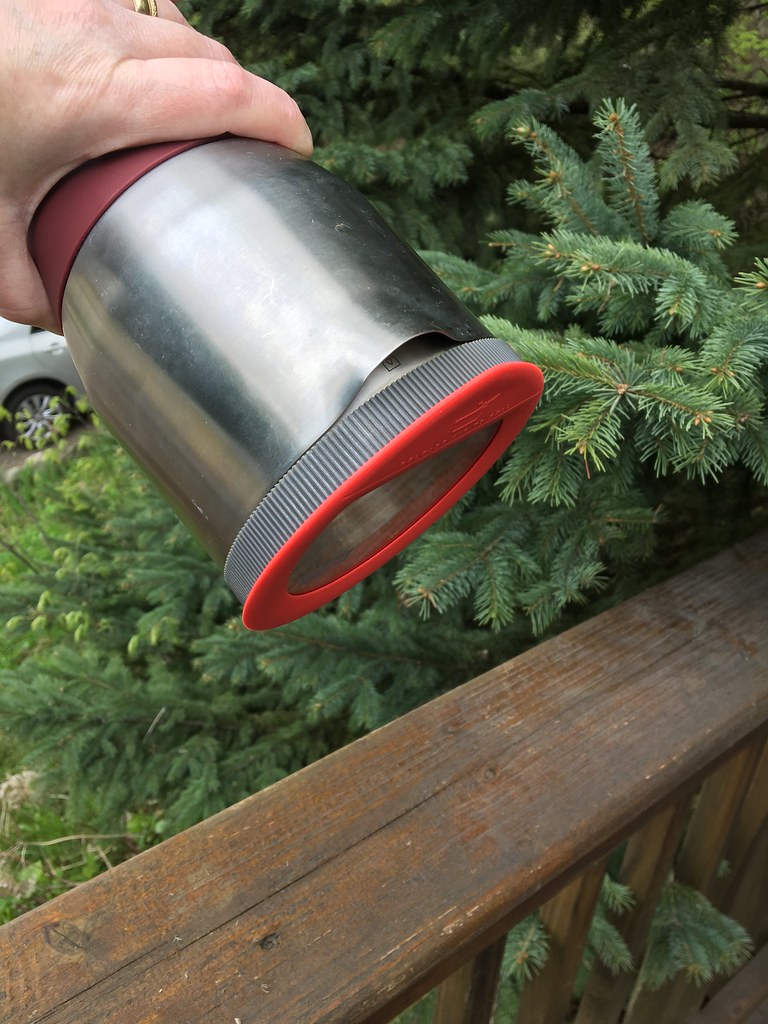

The only thing I might need to worry about is that the lid will actually seal, and as water condenses on the inside, it will cause a bit of a vacuum, so I may need to drill a tiny hole through the silicone to allow pressure to equalize.

Saturday, May 28, 2016

70/30 Water and tap water comparison


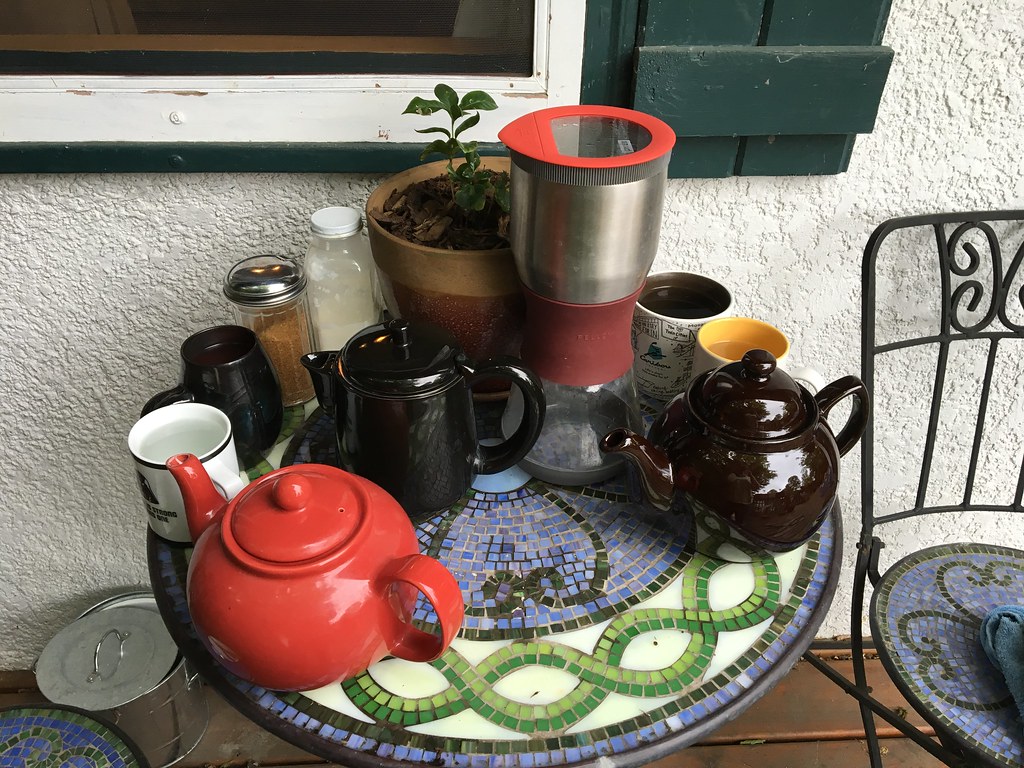
So, I did two brewings - one with 70/30 water, and one with regular tap water.  Instead of 26 ounces of water, I did two batches of 14 ounces each (red teapot had tap water, and brown teapot had 70/30 water).  I then ground a little more coffee than usual (nearly 6 TBS, instead of 5), and split it between the two brewers.

I brewed using my normal Duo parameters (40 seconds of bloom, add the rest of the water, wait one minute then stir, wait another minute and stir, then wait 2.5 minutes, and halt the brew cycle) in both brewers.  The Sowden Softbrew (black pot on the left) is an immersion brewing method very similar to the Duo Coffee steeper.  In both, the grounds soak in the brew water for a prescribed amount of time, and then the water either drains from the grounds, or you lift out the filter basket, removing the grounds.  There are differences in the end result between the two methods, but they are the closest I've got to the same brew method.

Anyway, one coffee was definitely better than the other, but here's the embarrassing part.  I lost track of which coffee was which.

Ah well, I'll just have to do it again tomorrow.

Friday, May 27, 2016

70/30 Water for coffee. That's parts per million.


Hey, take a look at this:

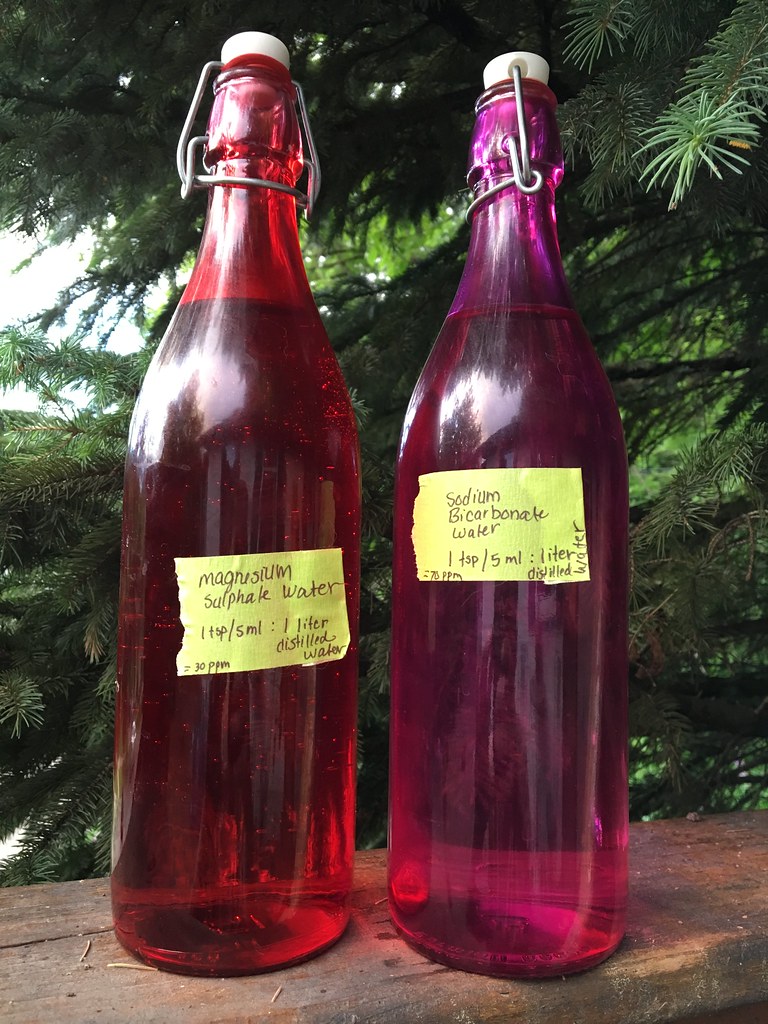
It's a recipe for water that's supposed to be good for brewing coffee:  Water containing 70 parts per million of bicarbonate, and 30 parts per million of magnesium sulfate. 70/30 water.  

Now, I'm blessed with tapwater that's pretty good for coffee, despite being very, very, VERY hard.  As in, off the scales of my hot tub test strips hard.  Somewhere over 250 parts per million hard (the test strips stop at about 250 ppm), and that's AFTER the water softener does its job.  (I know the instant it is out of salt, because my dishwasher starts sprinkling powdered chalk all over my clean dishes).

So, for years, I've wondered if distilled water would be good for brewing coffee. Distilled water is "thirsty," because it's a better solvent than hard water.  Then I came across the above URL and I knew I had to try it.

Because you are working with such tiny quantities (as in 1/100ths of a gram), you have to make solutions first.  Twelve grams of magnesium sulfate (Epsom salts) dissolved into 1000 ml of distilled water, and 14 grams of baking soda dissolved in 1000 ml of distilled water, and you have the solutions needed to make 70/30 water.  Once you have that, you add one teaspoon of each solution to 1000 ml of distilled water. 

That's pretty soft.  We'll see if I like it.

Also, after using 2 liters of water out of the gallon of distilled water, I wondered how many liters a gallon holds.  I used a unit conversion app on my phone to find out... but then I saw this:

3.78 liters in a gallon
That's right. After removing 2 liters, I still had 1.78 liters.  I actually poured it into a measuring container - yep. The company producing that gallon really measured quite precisely, and really did have 1.78 liters left over.  I pretended it was 1.75 for math purposes.    That jug now has 1.75 teaspoons of each of the solutions in it. And tomorrow, it's becoming coffee.

Oh, and what's with the expiration date. Distilled water expires???

Thursday, May 26, 2016

Storage: Experiments in storing coffee


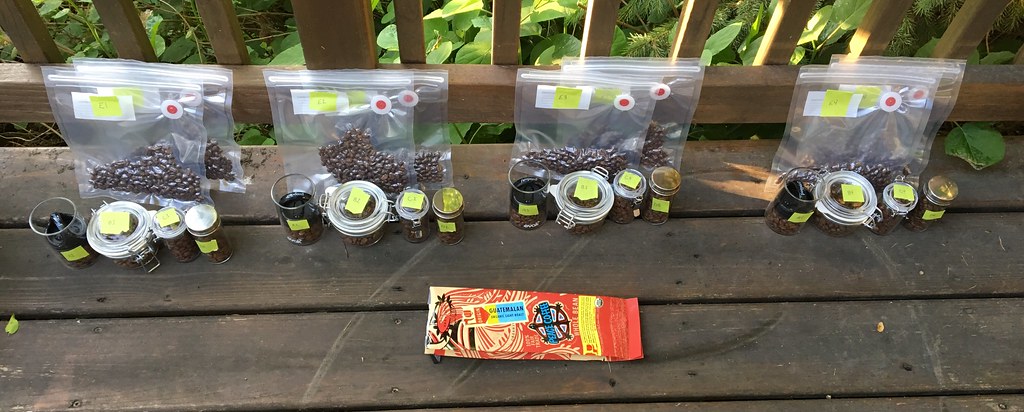
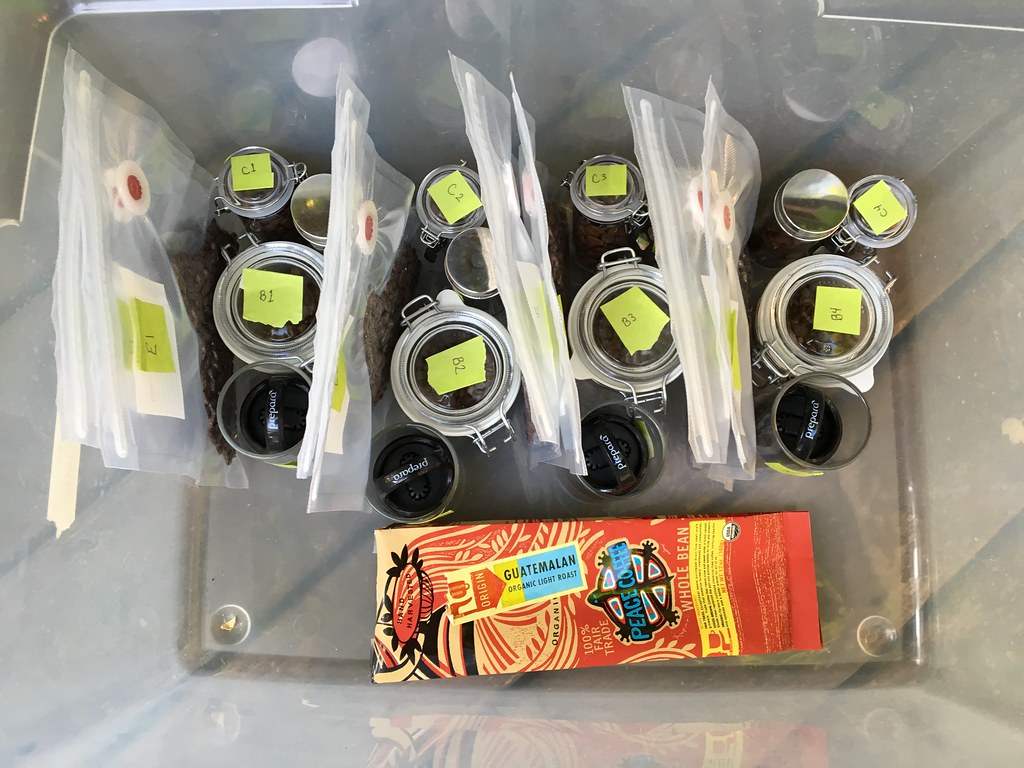
I decided to try a methodical coffee storage experiment. I'm using 5 different kinds of storage containers (plus one extra as a control), each with 33 grams (the exact amount I use each day to make coffee for Kivi and myself) of VERY fresh coffee, that was roasted yesterday (I wanted coffee roasted today, but I'll do that in the next iteration of this experiment).

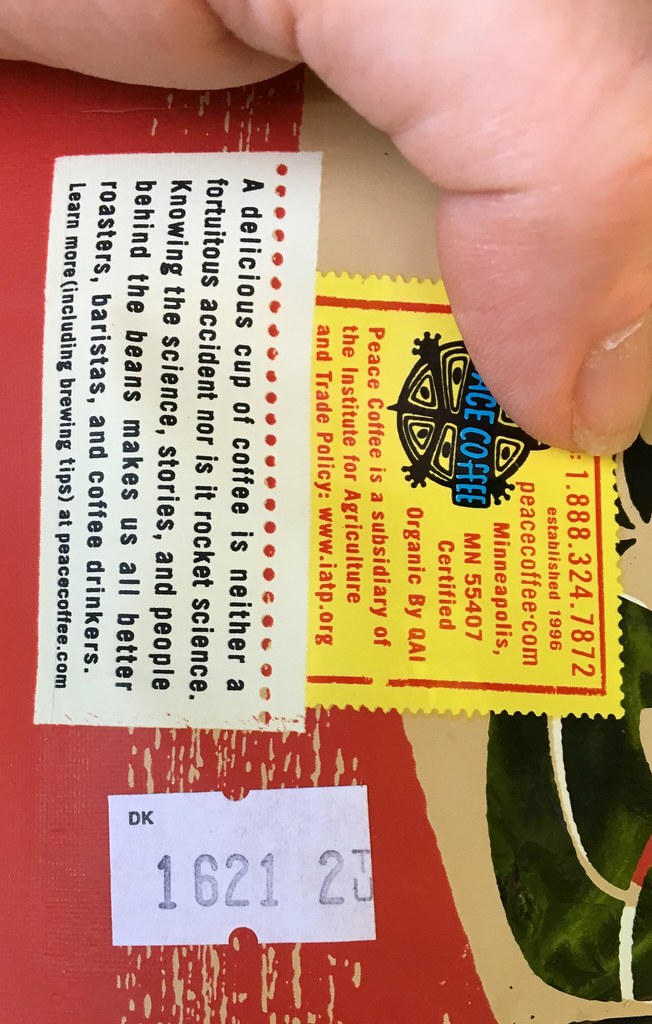
See the code on the sticker?
YYWWD (2016, week 21, Day 2 (Tues)
Here's what I did:  I got 4 each of 5 different kinds of storage, and packed the coffee in 33-gram increments in each. I'll open the first batch after one week, two weeks, three weeks, and four weeks, to see how well they keep the coffee fresh over time.

Very fresh coffee is still outgassing CO2 from the roasting, so the air-tight containers should pressurize, and the ones with valves should allow it to escape.  Anyway, here are the containers:

Container 1: 3-ounce glass spice jars with a metal screw-on lid. They held 33 grams of coffee beans easily, with only little headspace. http://www.containerstore.com/s/kitchen/spice-storage/3-oz.-glass-spice-bottle/12d?productId=10013579
I got the ones with a metal lid. There is no rubber seal, so hopefully they are airtight.
***

Container 2: 3-ounce acrylic spice jars with a bale-top and silicone or rubber seal.  These barely held 33 grams of coffee (I had to hold the lid closed, shake the jar slightly so that coffee would work its way into the recessed lid, then latch it closed). http://www.containerstore.com/s/kitchen/spice-storage/acrylic-spice-jar/12d?productId=10011992


***

Container 3: 4.25 oz/125 ml Fido bale-top canning jar with a rubber seal. These held 33 grams of coffee easily, with more headspace than I'd like.  Fidos are well-liked in the home-fermenting world, because they allow CO2 to escape when pressure builds high enough, without letting any air back in (i.e. if air was allowed back in, mold would grow on the surface of the ferment, and that rarely happens with the Fidos).  http://www.amazon.com/125-Terrine-Hermetic-Canning-Storage/dp/B00DH08GRE (we got a better price than what is shown here - shop around).
***

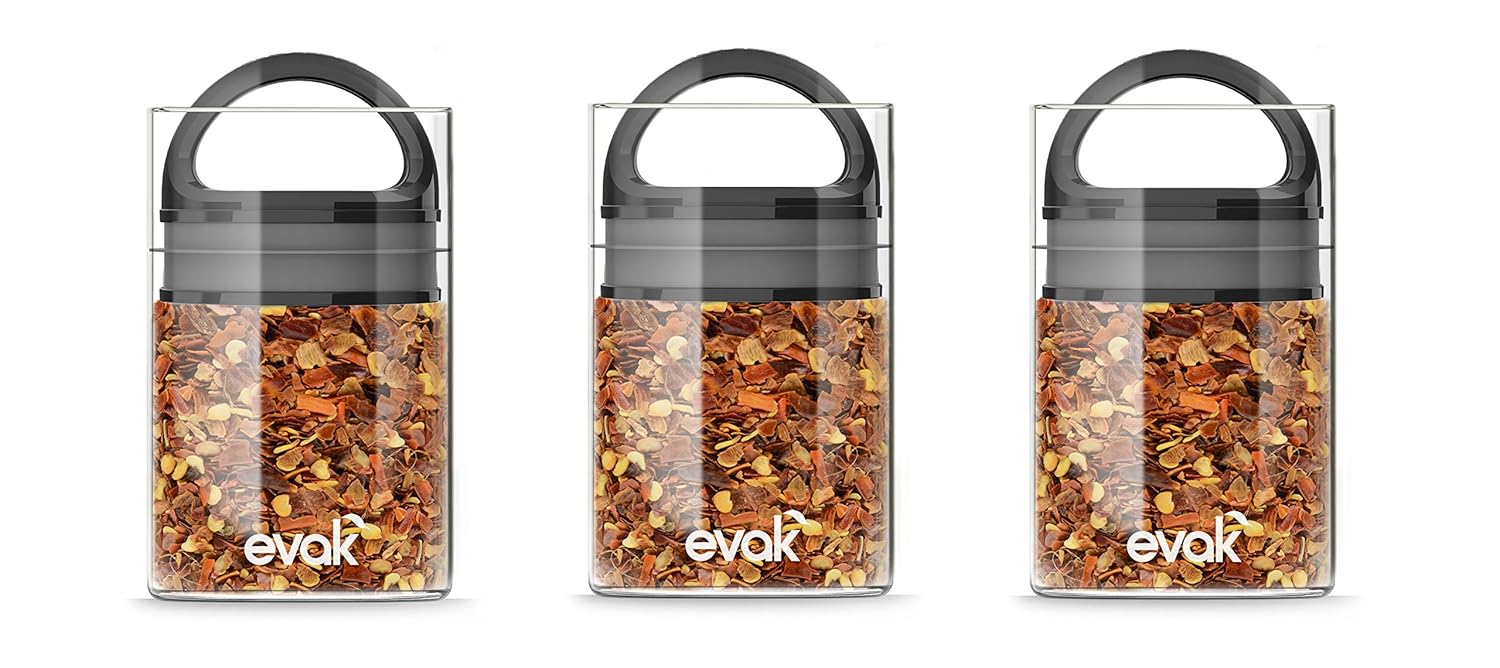
Container 4: Prepara Evak Mini containers - they shrink down to the surface of the coffee, and allow CO2 to escape. They also have a valve that prevents air from getting back in.  33 grams filled them about 1/2 way or thereabouts. They are very well-liked among coffee enthusiasts.  http://www.amazon.com/dp/B00UMXUG54/

***

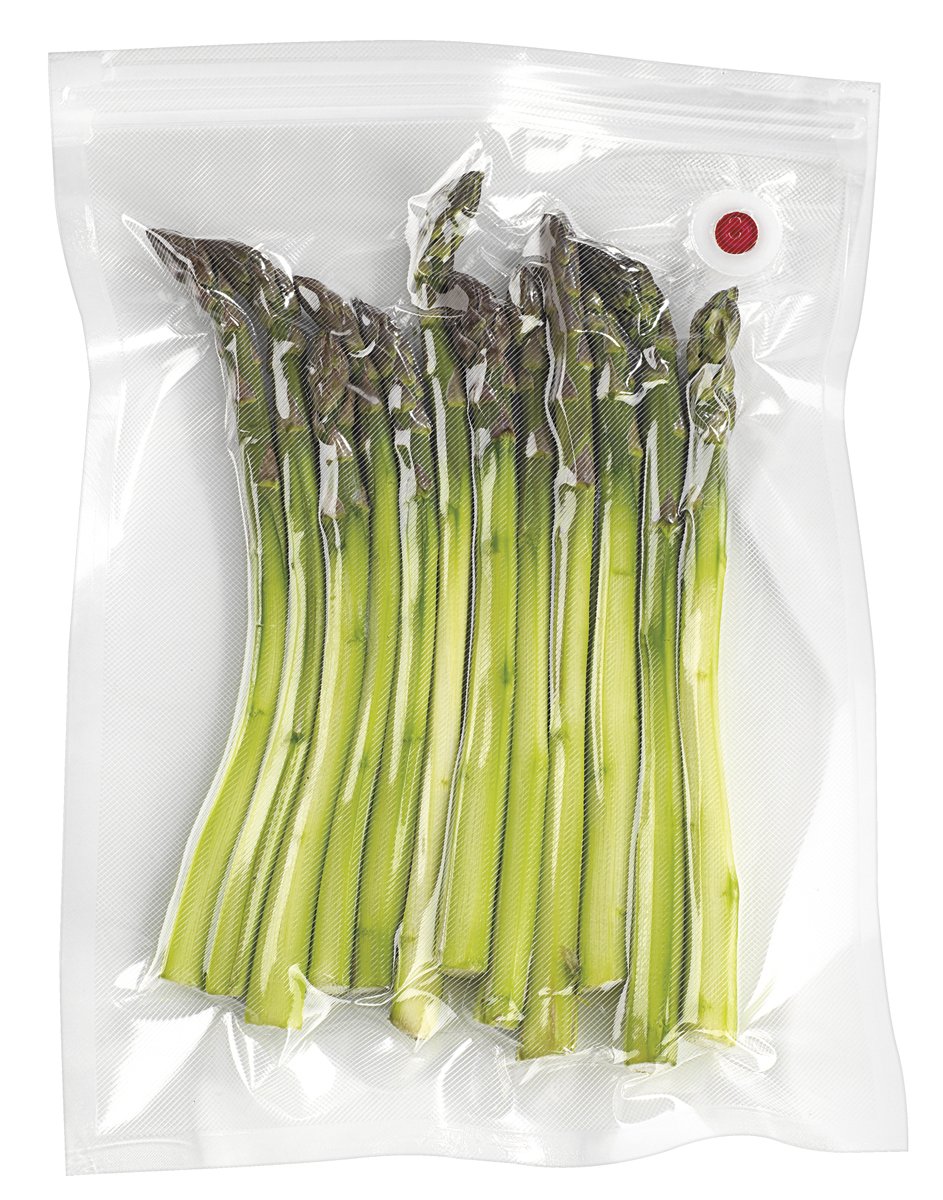
Container 5: One quart Waring Pro vacuum bags (ignore the asparagus - it was a much better picture than of an empty bag).  Don't bother with the Ziploc or Freshsaver versions of these bags. You'll be lucky to get a second use out of them. The Waring Pro bags will last 20+ uses, if handled gently.  I used two bags for each week: one I intend to remove accumulated CO2 as it ougasses, revacuuming every day or so until the outgassing stops, the other I'll leave puffed up.  In my current storage methods, I remove the excess CO2.  http://www.amazon.com/Waring-PVS1000CGB-1-Gallon-Pistol-Reusable/dp/B009O9VI86/


My intent is to do a cupping each week, to see how the beans survived the storage methods over time. My daughter will mix the samples (assign a code to each), so that when I evaluate the taste of the coffee made from the beans, I will not know which sample is which. I'll take notes on my findings, but will not look at the results until all four weeks are complete.  

I intend to repeat the experiment every month for 4-5 months, using the same coffee each time. Each month I will vary the time past roasting.  This month, the coffee is roast+1 (i.e, I packed the samples one day after roasting).  Hopefully next month I'll test roast+0.  This should measure the effect of the CO2 outgassing (40% of the CO2 is lost in the first 24 hours) on storage.  Eventually, I intend to attempt (somehow) to add CO2 to the beans if they are older, to prevent the beans from being packed with any O2. But, we'll see.


The coffee came from Peace Coffee, a fairly large Twin Cities roaster. They are big enough that I'll be able to get this same coffee month after month (though they cannot guarantee that it will come from the same batch of green beans, but I can't control for everything), but small enough that they have the flexibility to work with someone like me who only wants 2 pounds of coffee, and think my geekiness is totally cool.  Only drawback is that their roastery is only open 8am-4pm Monday-Friday (in other words, during working hours, 50 minutes from my home).

Update: The next morning, I got more bags, and vacuum-packed four more samples, and froze them. In the past, I'd decided that freezing beans made them taste funny, but due to recommendations from someone online, I decided to throw freezing into the mix.  


Friday, May 6, 2016

Gear Hack: Labeling coffee for storage

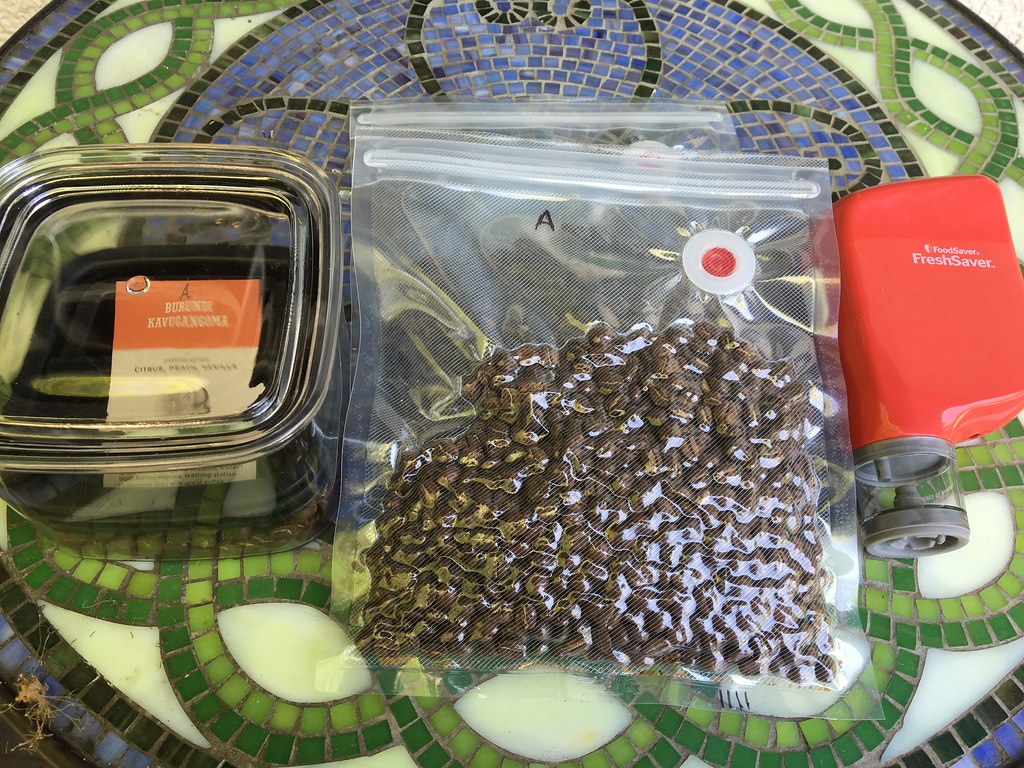
Left: Airscape with coffee label, marked with a letter.
Center: bags marked with same letter.
So, ever since I started breaking my coffee into 3 ounce/85 gram batches, and storing just one batch in the Airscape, and the rest in vacuum-sealed bags, my coffee stays fresher MUCH longer.

But, labeling was a total hassle - I got tired of writing the coffee type on the bag, and I could only really use the top third of the bag, because if I wrote over where the beans are, it was difficult to read. (Seriously - black ink over brown beans. I don't mean difficult, I mean nearly impossible).  I keep 3-4 different coffees at a time, so I might have up to 8 vacuum-sealed bags of beans going at once (rarely more than that).

So, I cut out the label from the coffee's original bag itself with the name of the coffee on it, and write a letter on the label (A-F as those are the first 6 letters of the alphabet, and I've never had more than 6 coffees at once).  Next, I put 85 grams of coffee into the Airscape, and put the label between the inner lid and out lid.  Finally I take the corresponding-lettered bags out of storage, and put 85 grams of coffee into each bag.  Now, I never have to write on the bags at all. I do put a tiny hash mark on the bottom, each time I put coffee into a bag, to track how many re-uses I get out of the bag (with the Waring Pro bags, I get well over 20 reuses before the bag becomes unreliable). Notice the letter A on the vacuum bag in the picture? And if you look reeeallllyyy carefully at the business card in the top of the airscape canister, at the very top, in the orange band, there is a letter A.

Anyway, the take away, is that I never have to write the name of the coffee, anywhere. And it's quicker and simpler.

Sunday, April 17, 2016

Gear hack: Soaking filters in vinegar

One problem with using reusable metal filters, is that those of us who live in areas with hard water (Minnesota, I'm looking at you) sometimes find that the finest metal filters clog with hard water deposits.

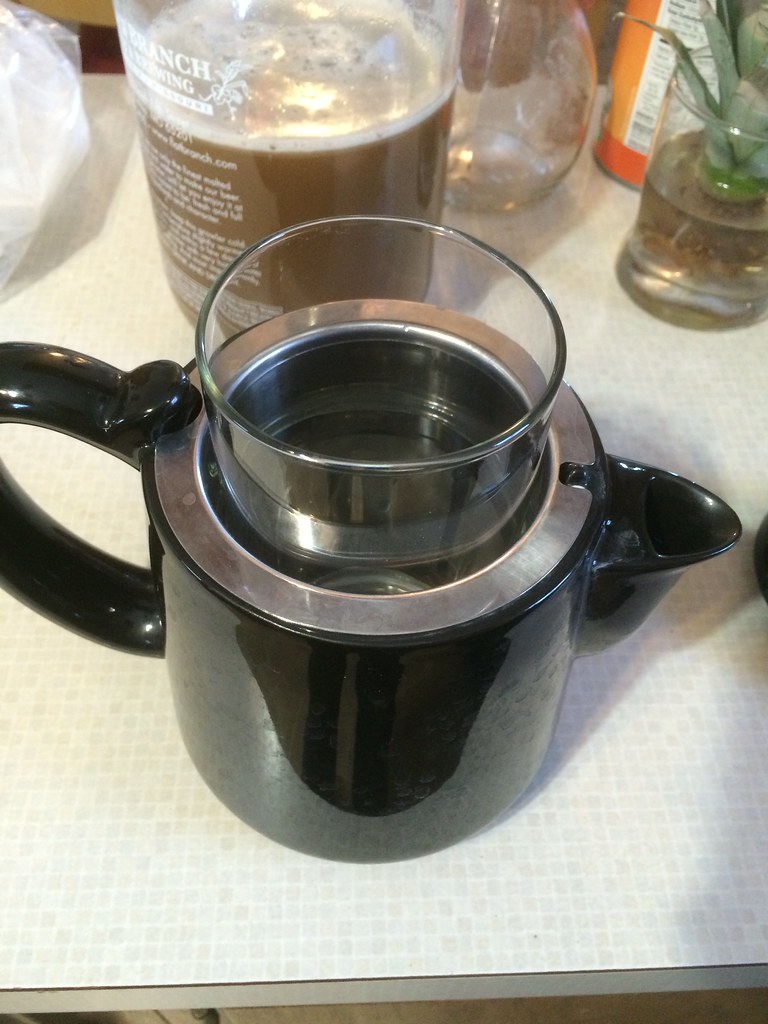
One of my favorite immersion brewers is called the Sowden Softbrew, and every month or so, I'd soak the filter in vinegar to ensure it continued to allow coffee to flow quickly through the filter when it was time to remove the grounds.


But... it takes a LOT of vinegar to fill the brewer enough to get all of the filter submerged.  To save vinegar, I put a glass into the filter, then poured vinegar down the spout until the level was high enough.  Leave it overnight, scrub it clean in the morning, and we're good to go!